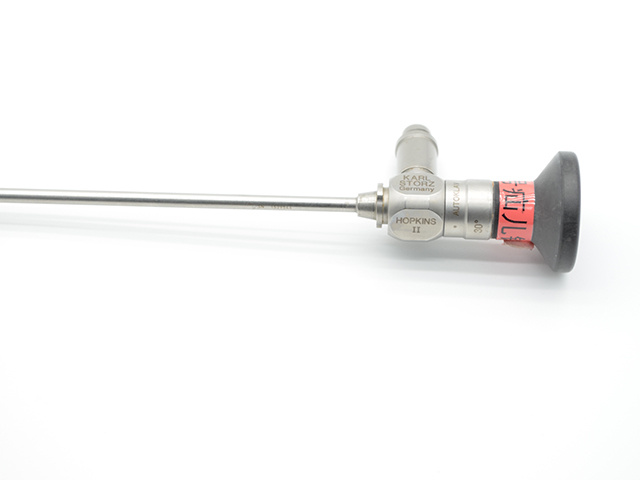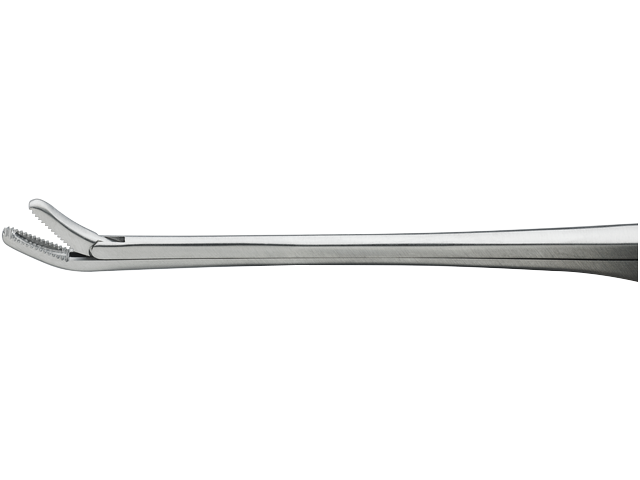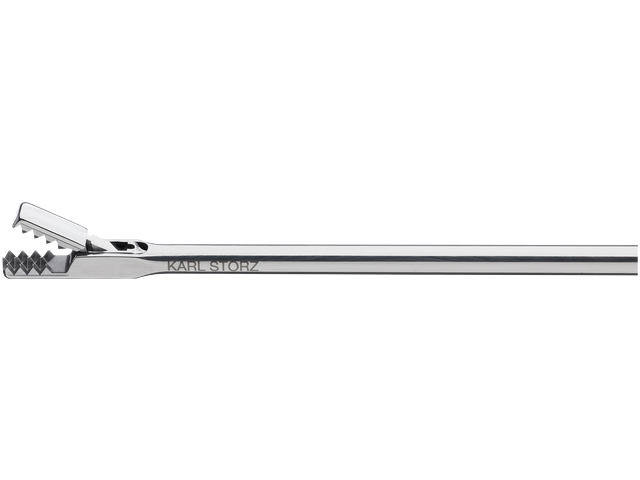


Endoscope
Our company has strong technical force, high-quality technical personnel and experienced employees, excellent production equipment and testing equipment and perfect management system.
- Product Description
-
1. components
Semi-finished products: lens body, eye mask, 304 stainless steel tube (inner and outer), imported optical fiber, optical fiber seat, optical accessories (eyepiece tube, eyepiece seat, spring, pressure cap, screw), objective lens group, mirror rod, spacer ring.
2. assembly process
(1) Eye mask accessories: shield made of KEEP rod, glass protective sheet, 304 grade metal body.
Assembly method: use high temperature resistant glue to glue the metal main body and protective sheet, and use high temperature glue to glue the main body and protective cover.
(2) eyepiece accessories: eyepiece tube, eyepiece seat, spring, pressure cap, screw.
Assembly method: refer to the style and size on the drawing, use screws to assemble.
(3) Mirror body assembly process:
1. The inner tube and the inner hole of the mirror body are fixed with special high-temperature glue, and the size and accuracy refer to the product parameters.
2. Wrap the imported optical fiber with a transparent sheet, push it into the gap between the connection between the inner tube and the mirror body, pass through the optical fiber channel opening, and reserve a length of 30mm. Take the 10mm part of the fiber tail end in the reserved length and wrap it with a heat shrinkable tube.
3. A length of 50mm is reserved at the other end of the optical fiber, and the top of the reserved optical fiber is bound with a long line. Use special UV glue to coat the binding part of the optical fiber and the binding line, and turn on the UV curing machine to cure the special UV glue.
4. Fix the mirror body so that the long line of bundled optical fibers passes through the outer tube and is bundled straight on a long metal stick at a distance of 600mm. Bind with rope, so that the optical fiber and the outer wall of the inner tube are closely attached. From the top of the inner tube to the connection between the inner tube and the mirror body, tie a knot every 50mm.
6. Push the outer tube slowly through the optical fiber and the inner tube, and cut off when encountering a knot (the optical fiber cannot be cut when cutting the knot) until the hole at the top of the mirror body meets the size.
7. Heat the mirror body (note: it needs to be heated when the indoor temperature is below 25 ℃), add special high-temperature glue to the top of the mirror body, and place it quietly until the glue solidifies. Remove the heat shrinkable tube in step 2, and the optical fiber holder passes through the optical fiber. The optical fiber holder is flush with the optical fiber channel opening of the mirror body. The position of the optical fiber holder is fixed with special high-temperature glue. A 10mm optical fiber is reserved at the front end of the optical fiber seat for polishing. The optical fiber is irradiated at 60W lamp temperature of about 60-80 ℃ for more than 4 hours. The temperature is adjusted to 60 ℃ (heated for more than 5 hours) in a stainless steel oven the next day.
8. Use a hot air gun to heat the bottom of the outer tube to the top position (the top position is 5-10mm below the bevel), add special high-temperature glue during heating, irradiate it for more than 4 hours at 60W light temperature of about 60-80 ℃, and put it into a stainless steel oven the next day to adjust the temperature to 60 ℃ (heating for more than 5 hours).
9. Tail optical fiber: Use a file to file off a part of the optical fiber, and only reserve 1mm optical fiber for fine grinding and polishing. Use 800 mesh, 1200 mesh, and 2000 mesh sandpaper to grind, finely polish, and use an optical fiber grinder to fine grind.
10. Top optical fiber: Use a file to file off a part of the optical fiber, and only reserve 1mm optical fiber for fine grinding and polishing. Use 800 mesh, 1200 mesh, and 2000 mesh sandpaper to grind, fine polish, use an optical fiber grinder to fine grind (until the brightness of the optical fiber spreads out), and finally process it into a semi-finished endoscope.
11. The optical assembly line assembles the objective lens group (when the finished objective lens is assembled into the top pipe, the special high-temperature glue is applied and pushed into the pipe until it is fixed at high temperature). The mirror rod assembly line assembles the mirror rod into the tail pipe of the endoscope.
12. Assemble the eyepiece on the lens body and debug the optical path. After the initial test, screw on the eye mask at the tail end of the lens body, and check whether the image is in good condition with the equipment,.
13. After checking, unscrew the eye mask, seal the eye mask with high-temperature glue (apply the glue to the metal thread inside the eye mask), screw on the mirror body, and leave it for 4 hours.
14, final inspection, water test (water depth 1.5 meters), test temperature (100 ℃).
15. Storage.
Keyword:
Endoscope
Online Inquiry
If you encounter any questions or confusion in use, please do not hesitate to leave a message here. Our customer service team will answer you as soon as possible to ensure that you can use our products smoothly.
More products


